Preparing walls for painting isn’t only about making them look good today, it’s about whether they will look good for 15 years or begin to bubble in under 2 years. Clean, patch, sand, caulk, spot-prime, dust off, protect – these are the magic words.
If you miss any of these steps, it’s not going to happen, and the paint you select is less important than taking the time to follow each step.
We are frequently called to Orange County homes to clean up failed paint jobs, and 9 times out of 10, it’s not the paint, it’s the prep.

Let’s get ready those interior walls in 7 steps:
1. Wash and degrease walls, particularly in kitchens, bathrooms and shiny surfaces.
2.Apply joint compound to repair cracks, nail holes and dings.
3. Smooth the patches with sand and remove any shine from shiny surfaces.
5. Caulk around trim, baseboards and corners.
Spot-prime all patched areas, stains and exposed drywall.
Use a vacuum and wet cloth to dust off completely.
7. Cover floors, furniture and other non-paintable items.
That’s all you need to know about prepping interior walls for painting.
Let’s take a closer look at why each step is important, as knowing the “why” behind them will prevent you from abandoning the ones that appear boring.
The full prep process, step by step
Clean first, always
Walls collect more than they look like they do. Cooking grease travels well beyond the kitchen, bathrooms carry soap film, and inland Orange County homes in Anaheim and Irvine pick up a surprising amount of fine dust through open windows. Paint bonds to the wall, not to the film sitting on it. On an interior painting job this is where a third of our first day goes, before a single wall gets touched with a brush.
Patch everything before you sand anything
Fill nail holes, hairline cracks and dings with joint compound, slightly proud of the surface so there’s material to sand back flat. Larger holes, cracks that keep returning, or anything with water damage behind it need proper drywall repair rather than a skim of mud, because a patch over a moving crack will telegraph through the new paint within a season.

Sand flat, then degloss
Patches get sanded until you can’t feel the edge with your hand. Glossy or semi-gloss walls get a light scuff over the whole surface. One safety note worth taking seriously: NIOSH has found that drywall sanders can be exposed to dust levels many times the occupational limit, and joint compound can contain silica. Wear a proper respirator, not a paper dust mask, and ventilate the room.

Caulk the gaps
Where trim meets wall, where baseboard meets wall, and any open corner joint. Paintable acrylic caulk, tooled smooth. This is the step that separates a job that looks professional from one that looks like a weekend.
Spot-prime the patches and stains
Joint compound is porous and the paint around it isn’t. Roll a finish coat over an unprimed patch and that spot absorbs differently, leaving a dull or shiny mark visible in raking light. That’s flashing, and it’s the single most common complaint we hear about DIY paint jobs. Primer evens out the porosity so the topcoat dries uniformly.

Dust, then protect
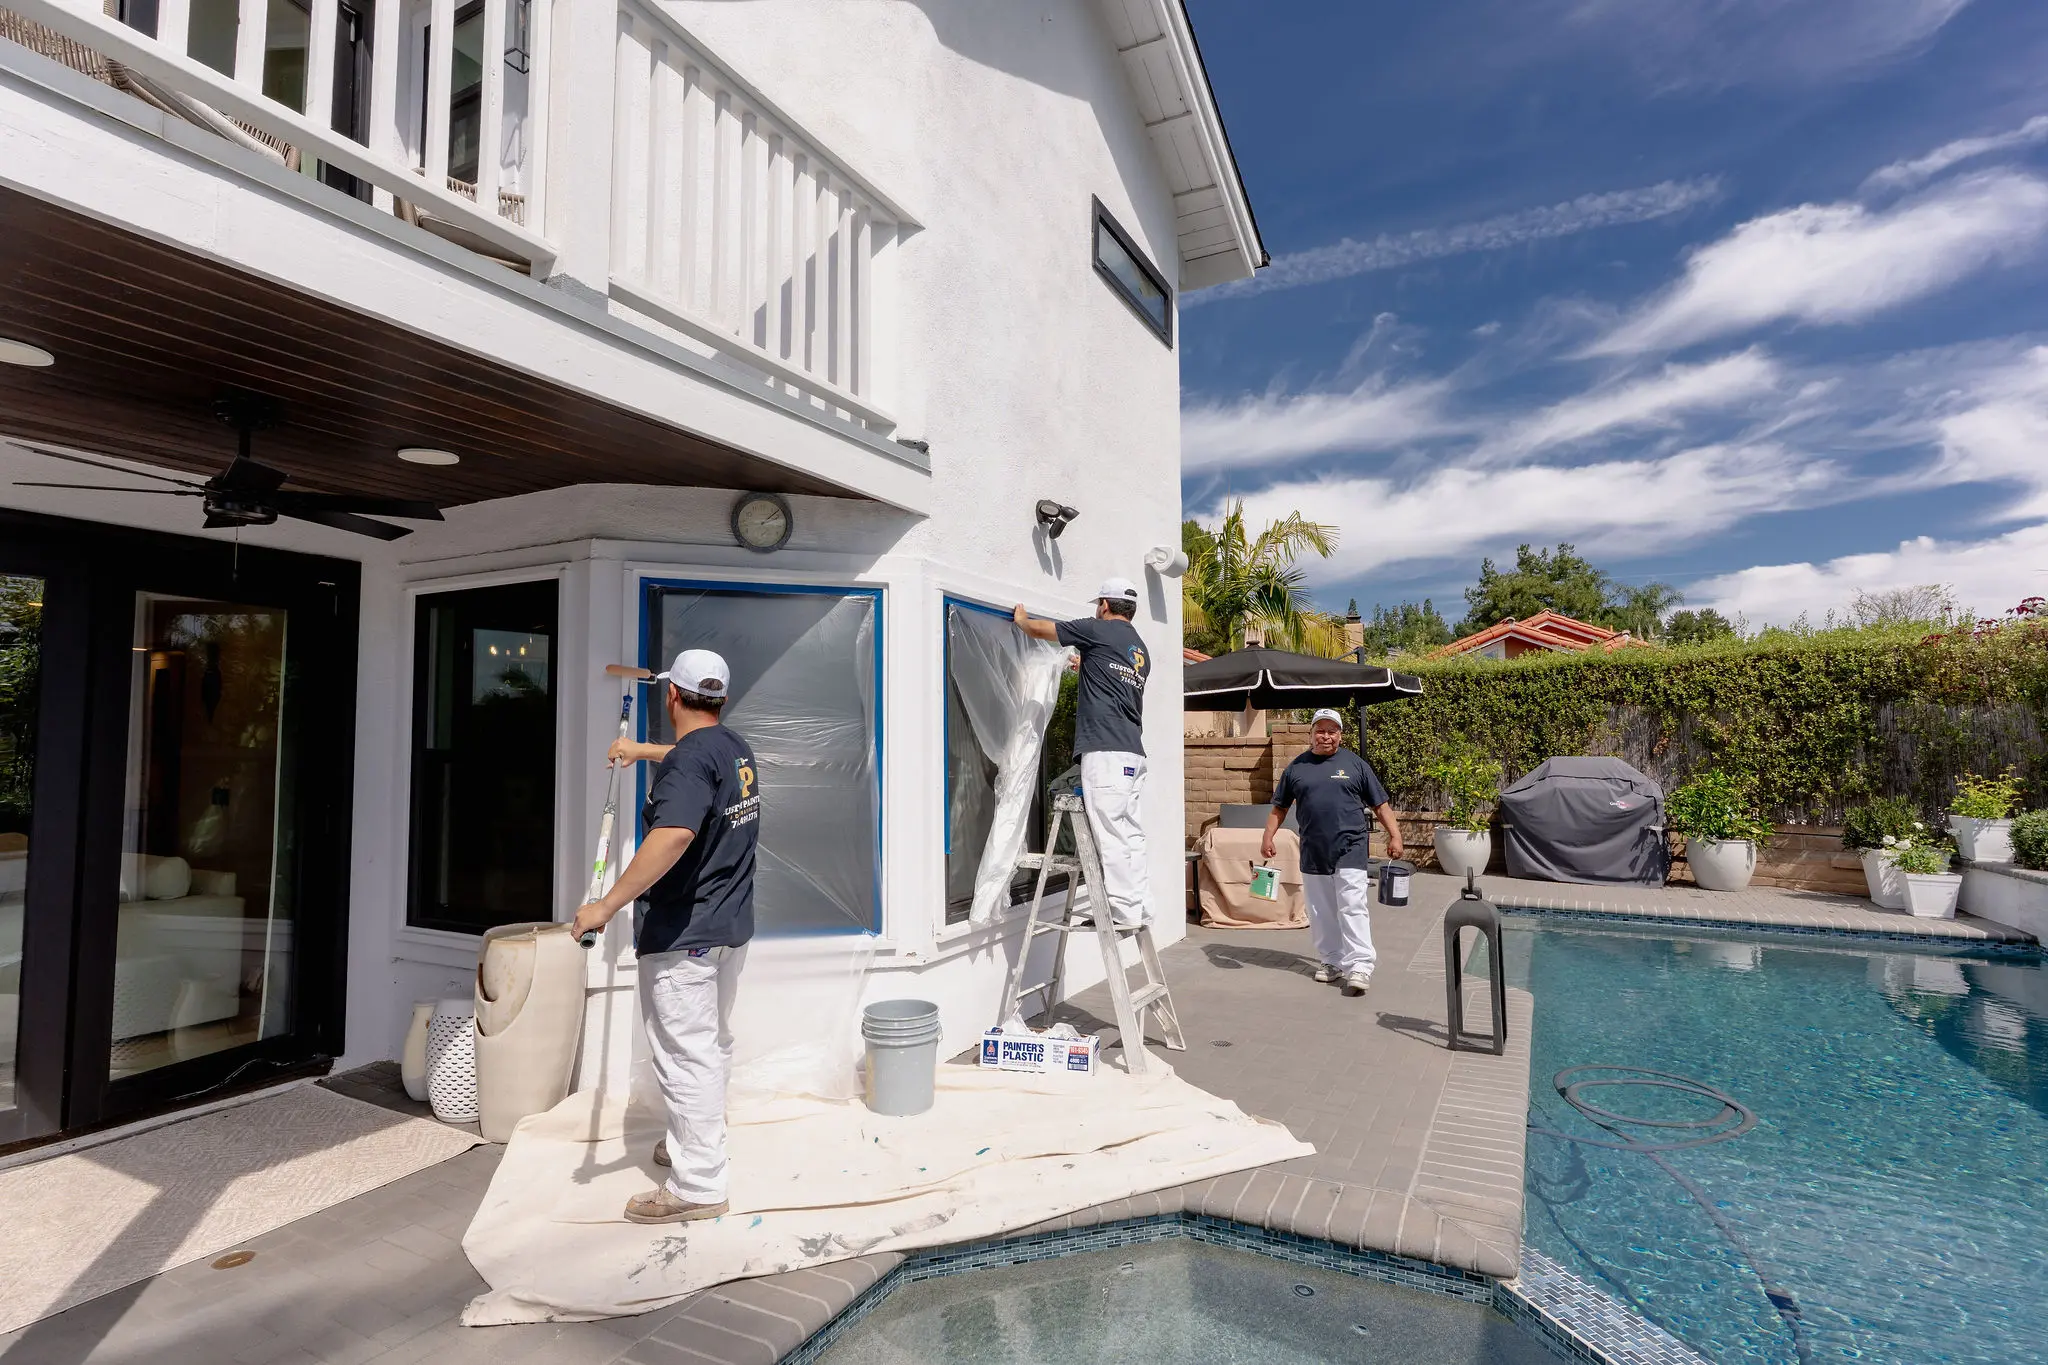
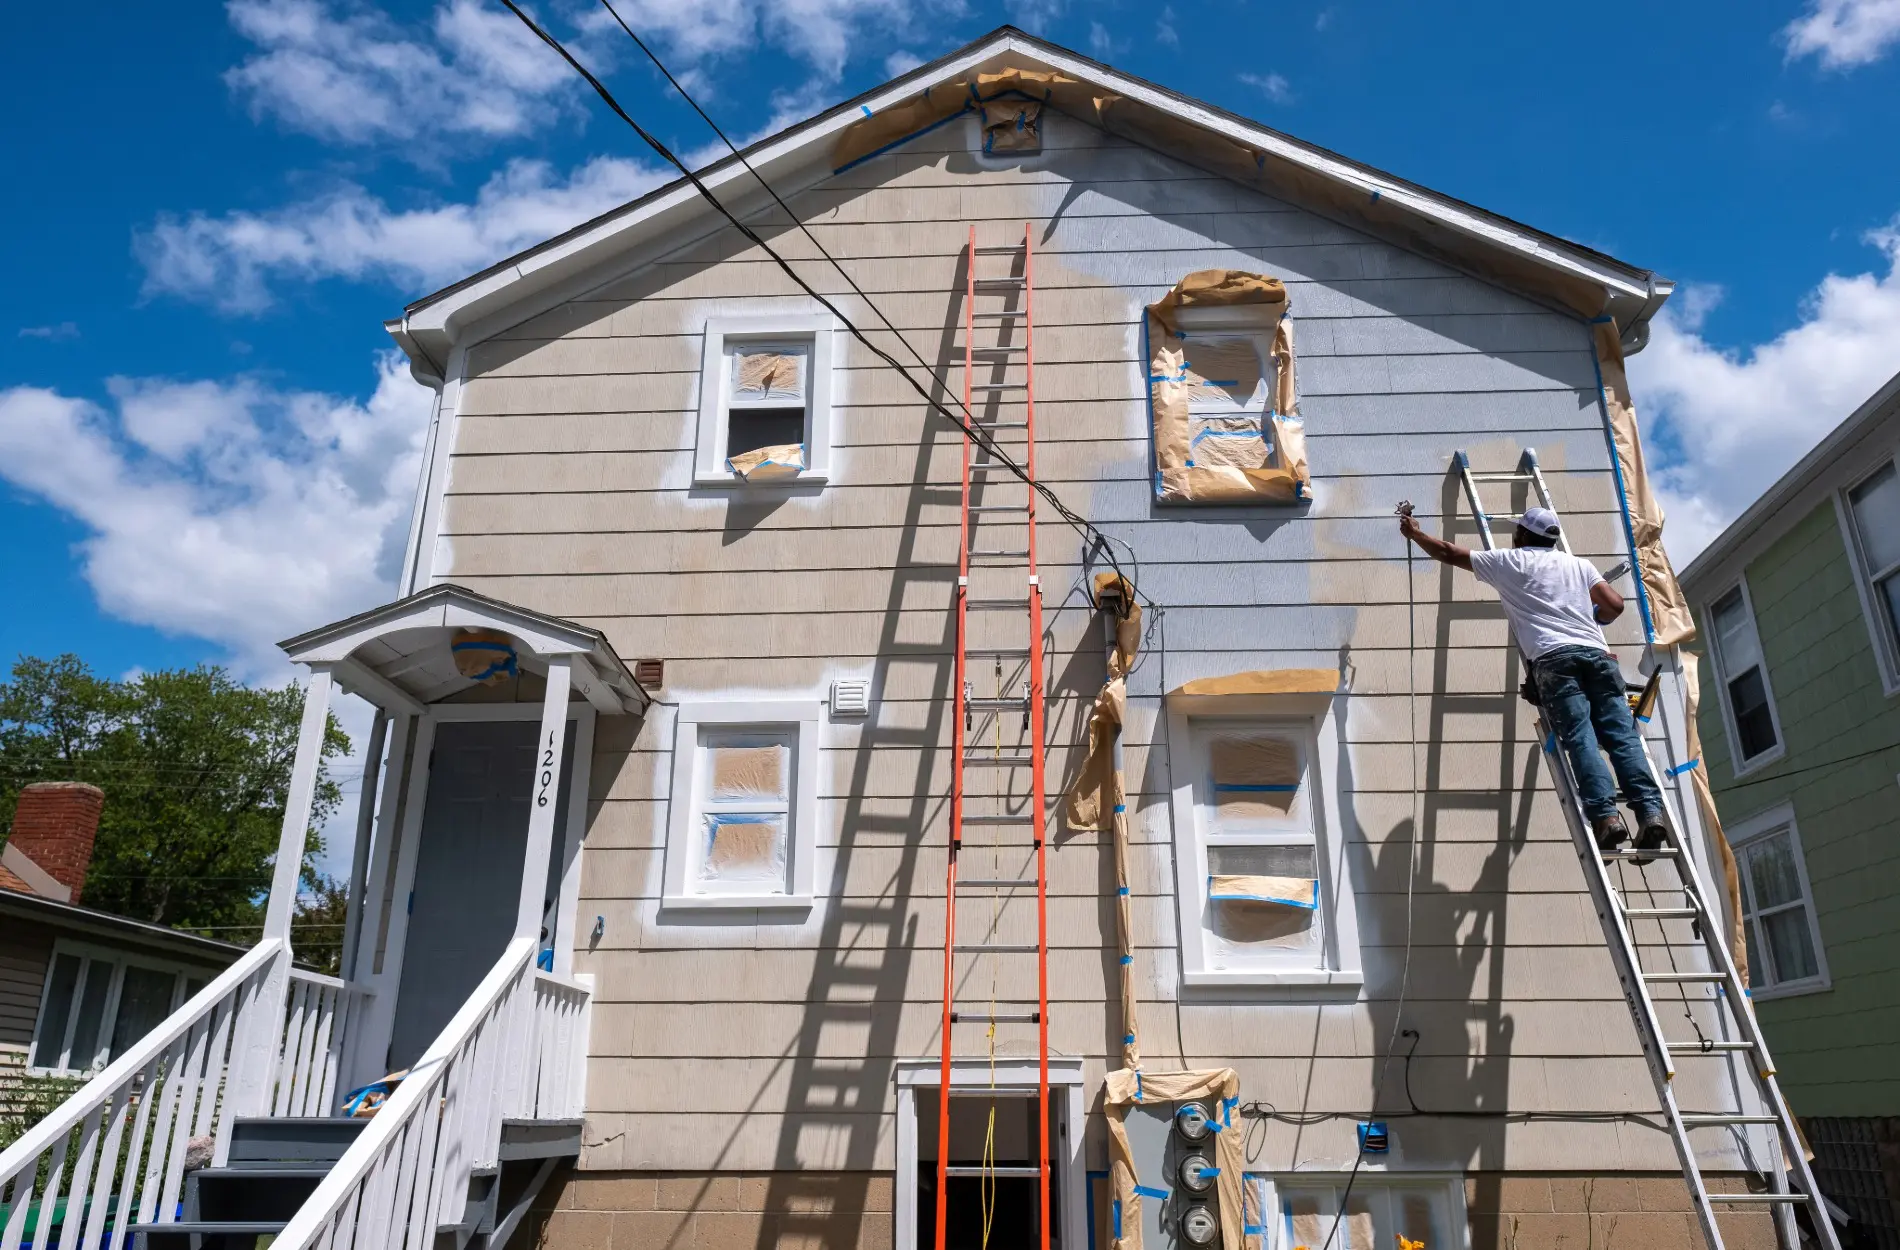
Vacuum the walls, wipe with a barely damp cloth, and let them dry. Then mask, cover floors and wrap furniture. Sanding dust left on a wall ends up permanently sealed under the finish.
Should I wash my walls before painting?
Yes, in most cases, and definitely in these: kitchens and anywhere near cooking, bathrooms, walls with a satin or gloss sheen, homes with smokers, and any wall with visible dust, handprints or scuffs.
Use warm water with a mild detergent or a TSP substitute, work top to bottom, rinse with clean water, and let the wall dry fully before anything else. Fully means genuinely dry, not touch-dry. Along the coast in Newport and Laguna that can take noticeably longer than it does inland.
When can you skip it? A low-traffic bedroom with flat paint that’s been dusted regularly and has no visible marks. Even then, run a clean cloth over it. If the cloth comes back gray, wash it.
Do you need to sand walls before painting?
Yes, but not the way people imagine. You’re not sanding the wall back to bare drywall. You’re doing two specific things.
Smoothing patches. Every repair gets sanded flush so it disappears under paint rather than sitting under it as a bump.
Deglossing. Anything with sheen, satin, semi-gloss, or an older oil-based finish, needs a light scuff with 150 to 220 grit to give the new coat something to grip. Paint does not stick well to slick.
On a flat-painted wall in good condition with no repairs, you can often skip the overall sanding. Nibs, roller lint and drips from the last paint job still need knocking down, though. Run your hand across the wall; anything you can feel, you’ll see once fresh paint is on it.
Prep by wall condition
insert the table here
What happens if you skip prep
The failures are predictable, and we see the same four.
Peeling in sheets. Paint applied over grease or a glossy surface never bonded. A fingernail lifts it.
Bubbling. Usually a wall that wasn’t dry, or moisture still coming through from behind.
Patches showing through. Unprimed repairs flashing dull against the surrounding sheen, most visible in afternoon light.
Texture in the finish. Dust and grit sealed under the topcoat, permanent until it’s sanded and recoated.
None of these can be fixed with another coat. Every one means going back to the wall and starting over, which is why prep isn’t the cheap part of a job to skip.

If it’s more than you want to take on
That’s a reasonable conclusion. Proper prep on an average room is most of the labor, and it’s the part that requires judgment rather than just effort. If you’d rather hand it over, request an estimate and we’ll walk the rooms with you, free, anywhere in Orange County.
Frequently asked questions
Do you need to wash walls prior to painting?
Yes, particularly in kitchens, bathrooms, homes with smoking or on any shiny wall. Wash them with a mild detergent or a TSP alternative, rinse thoroughly and allow to dry completely before patching or sanding begins.
Does sanding need to be done on all walls?
Not on all the walls of all the rooms. Use 150 to 220 grit sandpaper to sand out any patches for a level surface and to remove a shine from any glossy material. However, if the wall is in good condition (flat and undamaged), simply smooth out any areas that have any “bumps” or “drips” that you can feel.
Should I prime my painting before I paint?
Always prime patches, stains, bare drywall, or when a large color change is about to take place. If the wall is well painted and has a similar paint color, it does not require an entire coat of primer. But, be sure to spot-prime any repairs.
What is the flashing and how do I prevent it?
When the patching work results in a change of sheen from the surrounding wall (dull or shiny spots), it is called flushing. This is because the compound is more porous than paint. To prevent this, be sure to spot-prime all your patches.
What if you did not prepare the walls before painting?
Without proper prep, the paint will peel, bubble, show up spots, or the grit will remain in the finish. These problems cannot be solved by simply painting over them; they would need to be removed and reworked.
How long does it take to prep the wall?
This will normally take more time than the painting itself. Prep time will take around 2/3 of the total time required for a typical room, possibly more if there is a lot of patching or the walls need a full wash and dry.
May I paint over wallpaper/gloss paint?
Glossy paint can be painted over, but will require washing, deglossing and priming. Wallpaper: If there is ever any, you should get rid of it first. Over time, moisture in the paint will cause the seams to rise.